The optional hardware display is wired directly to the pump.is controller. It does not need Bluetooth or a phone, and it can control the same tires and air suspension as the app.
For everyday use, remember three actions: rotate to change pressure, press to confirm, and double-click to activate.
Jump to Main screen, Warnings and alarms, Menu reference, Advanced settings, or Airpads.
Controls
The display uses one rotary knob:
- Rotate to change a value or move through a menu.
- Press to confirm or select.
- Double-click on the main screen to activate or deactivate the system.
- Press and hold on the main screen to open the menu. From anywhere else, press and hold to return to the main screen.
Main screen
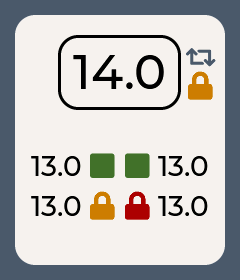
The large number in the center is the target pressure. The smaller tire values below it are the latest measurements.
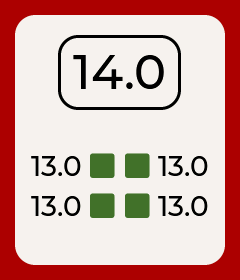
The border shows whether pressure control is running:
- Red — inactive; the controller will not inflate or deflate.
- Blue — active and working toward the target.
Change the target pressure
Rotate the knob. The target turns orange to show that it has not been saved yet.
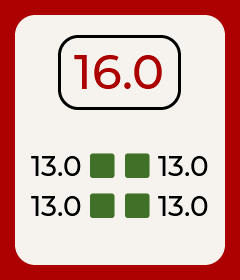
Press once to confirm. The display remembers the target after the vehicle is powered off and back on.
Activating the system
Double-click the knob from the main screen to activate. The border turns blue and pump.is starts moving the tires toward the target. Double-click again to deactivate.
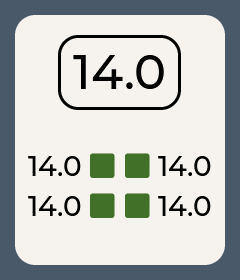
You can also press and hold to open the menu, then choose Activate or Deactivate.
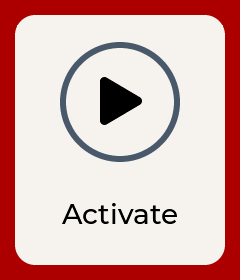
To have the system activate whenever the vehicle powers up, turn on Auto Activate.
Warnings and alarms
An orange warning icon on the main screen means the controller has something to tell you. Open the menu and choose Warnings for the details.
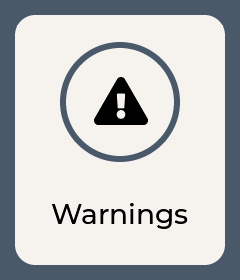
Warnings in the menu
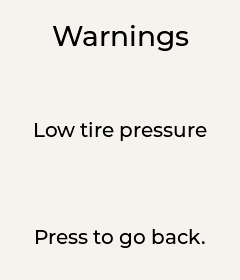
Warning details
A warning that needs immediate attention can also open a full-screen alarm. Rotate or press the knob to silence it and return to the main screen.
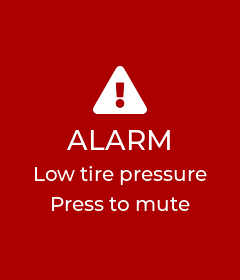
The warning icon remains until the condition clears. A tire that is dangerously out of range is marked red on the main screen, including a tire that is locked.
Menu reference
Press and hold from the main screen, then rotate to an item and press to open it. Press and hold again to leave the menu. It also closes on its own after 10 seconds without input.
The root menu contains Activate/Deactivate, Airpads when fitted, Brightness, Dark Mode, Advanced, and Exit. Warnings appears only while a warning is active.
Brightness
Open Brightness, rotate to adjust, then press to save.
Menu item
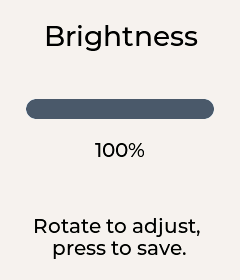
Adjustment
Dark Mode
Open Dark Mode, choose Light or Dark, then press to save.
Menu item
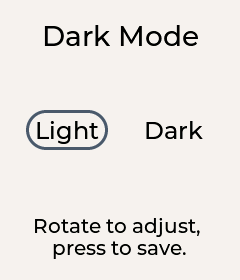
Light or Dark
Advanced settings
Open Advanced for the controls that are used less often.
Advanced in the root menu
Advanced menu
Locking tires and airpads
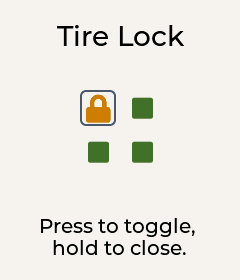
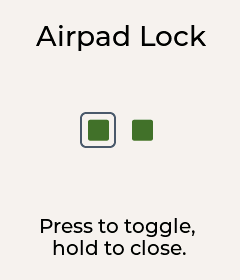
Open Tire Lock or Airpad Lock. Rotate to an item and press to lock or unlock it; press and hold to return to the main screen.
Tire lock
Airpad lock
A locked item is left alone by the controller. An orange lock means it is paused; a red lock means it is locked and also outside the safe pressure range.
Rear Delta
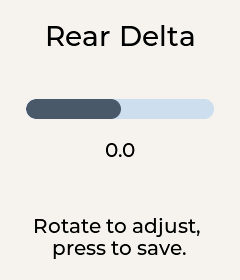
Rear Delta keeps the rear tires a fixed amount above or below the front target. A value of +2 PSI, for example, makes the rear target 2 PSI higher.
Menu item
Set the difference
Rotate to adjust and press to save.
Auto Activate
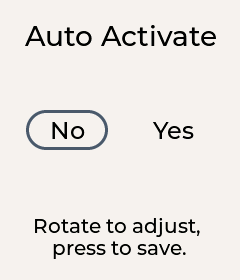
Set Auto Activate to Yes if you want tire pressure control to start automatically whenever the display powers up. No is the default.
Menu item
Choose Yes or No
Rotate to choose and press to save. The setting applies on the next fresh start-up.
Bluetooth
Bluetooth controls whether phones can connect to the main controller. Set it to No when wireless communication must be disabled.
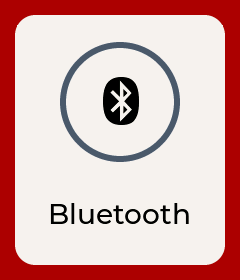
Menu item
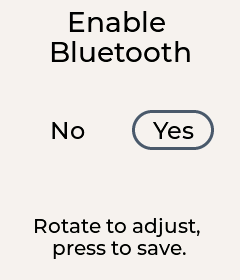
Choose Yes or No
If you turn it off, the app cannot reconnect until Bluetooth is enabled from the hardware display again.
Screen Rotation
Use Screen Rotation when the display is mounted upside down.
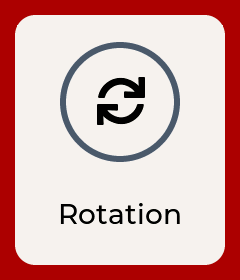
Menu item
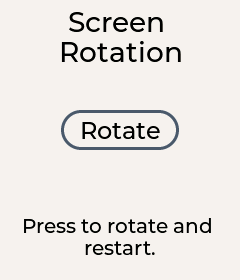
Rotate the screen
Airpads
If the vehicle has air suspension, open Airpads from the root menu.
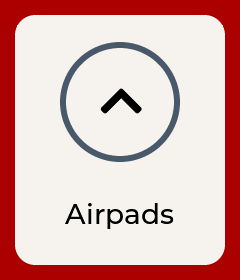
Airpads in the menu
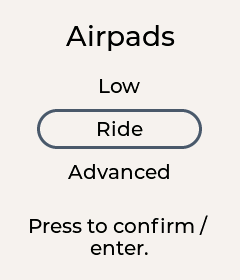
Choose a mode
- Low lowers the suspension fully.
- Ride returns it to the saved ride height.
- Advanced opens a 0–100% height control.
Rotate to a mode and press to confirm. For individual airpad control and saving a new Ride position, use the mobile app’s air suspension controls.